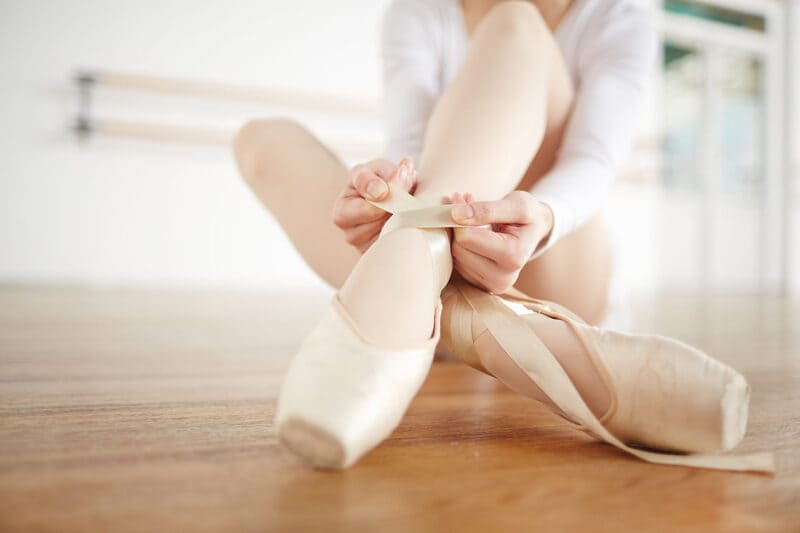
As a ballerina, the last thing you want is your ballet shoes to come off right when you are in the middle of a performance. Careful research has revealed that even some professional ballet dancers do not know how to tie ballet shoes, so they have others do it for them when they have to perform.
Whether you are a beginner or a professional ballet dancer struggling with getting it right, this article will help you through the process. You will know how to tie your ballet shoes with complete confidence in not pulling off when you perform.
Ballet Shoes with Elastic Ribbons
Before we go deeper, I would like you to know that there are two types of ballet shoe ribbons that you can tie. I will first show you how to tie ballet shoes with modern elastic ribbons. And the second process is how to tie ballet shoes with satin ribbons – which have been used for some time now.
Steps on Tying Ballet Shoes with Elastic Ribbons
In this part of the article, I will show you how to tie ballet shoes with elastic ribbons.
Step 1
Pointe ballet shoes are the most with ribbons that you can tie. Therefore, the first step is to put them on perfectly. Make sure your foot is seated inside comfortably before you go to the next step. You must ensure your foot sits perfectly in your ballet shoe before you tie them!
Step 2
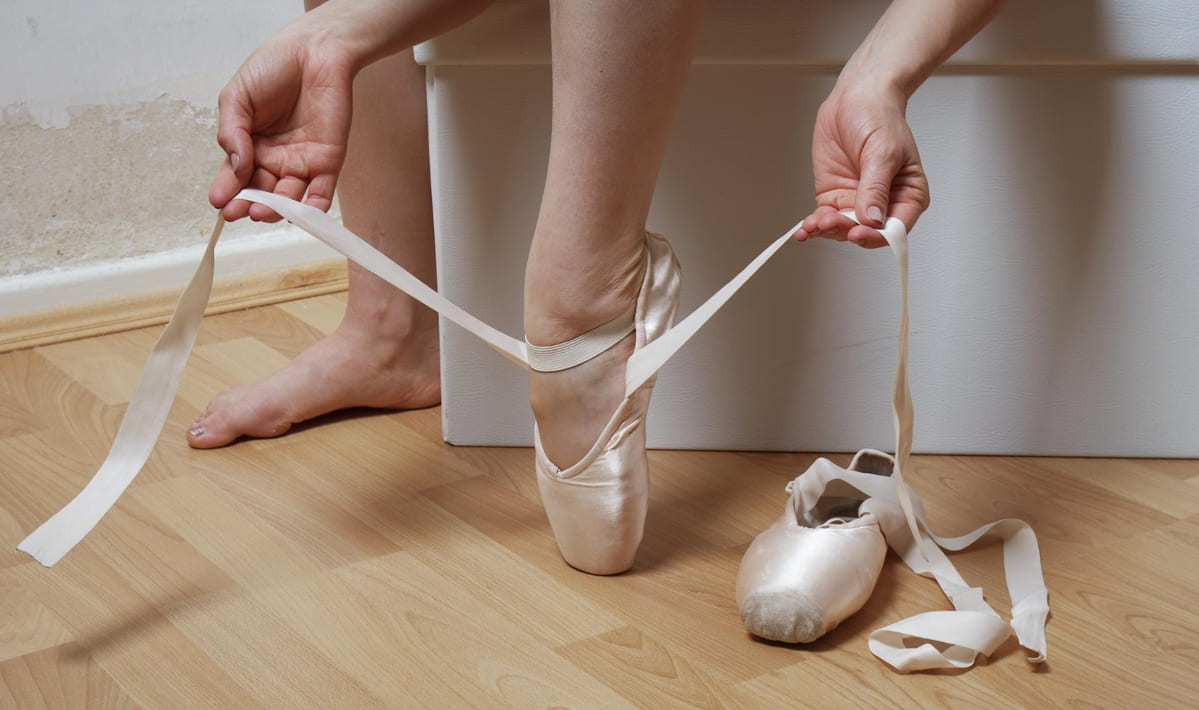
After putting on your ballet shoes, the next step is to take the ribbon on the left or right side of your ballet shoe and then cross it over to the other side.
Continue to wrap the same ribbon on your ankle in an upward manner until you have just enough ribbon left that you can make a knot with. Keep in mind that you are tying an elastic ribbon, so go easy on the stretchiness of the ribbon not to make it too tight on your leg as it will restrict blood flow and make you uncomfortable.
You should be able to wrap the ribbon around your ankle at least two times and then stop at the back or side of your leg. Not at the front, if you want to keep it neat and professional.
Step 3
Take the other ribbon, either on the left or right, depending on which one you picked first in step 2. Cross the same ribbon to the other side of your ballet shoes, as you did in step 2. Make sure to create an ‘X’ shape when you cross this ribbon to the other side of your ballet shoes to make it stylish, like in the picture below.

Continue to wrap this ribbon in an upward manner until you have just enough ribbon left at the back or side of your leg to make a knot with the other.
Step 4
When you are satisfied with your grip or the tightness of the elastic ribbon on your leg, drag the two ribbons, edge to edge, and knot them together. The knot should be at the side of your ankle bone or the back. Both are fine, just make sure you don’t do it at the front, as it will look unprofessional.
Step 5
Take note that this step is crucial! After you are done with steps 1 to 4, the 5th step is to tuck in the ends of the elastic ribbon underneath the ribbon wrapped around your ankle. This will make your knot look extra clean and professional and prevent your knot from losing while you dance.
Step 6
The last part of how to tie ballet shoes with elastic ribbons is to do the same process of 1 – 5 steps for the other foot. Once it’s done, you are good to go!
Ballet Shoes with Satin Ribbons
Most ballet shoes ballerinas use for ballet come with satin ribbons, as is the standard. People just seem to improvise a little with creativity and make use of elastic ribbons on their ballet shoes which are gradually becoming the norm.
Steps on Tying Ballet Shoes with Satin Ribbons
The steps for tying ballet shoes with satin ribbons are the same as those for tying ballet shoes with elastic ribbons. However, there are a few differences between elastic ribbons and satin ribbons that should not go unnoticed.
Grip: Ballet shoes with satin ribbons are most recommended because they have a friendly feel on the skin compared to elastic ribbons. And they also give ankle-needed support due to their texture. Although some ballet dancers dislike satin ribbons, they remain the best and are recommended due to their sturdiness and firm grip on the ankle when you dance.
Cleanliness: Elastic ribbons are somewhat hard to maintain and keep clean, unlike satin ribbons that can be cleaned with a soft bristle brush whenever you clean your ballet shoes. Elastic ribbons, however, will require a little washing to keep them clean. This can damage your ballet shoes in the process.
Durability: Another important feature to consider is durability. With constant use, elastic ribbons will lose their stretchiness and begin to slack, forcing you to buy/fix another roll of elastics. The process of changing these elastics can cause damage to your fragile ballet shoes, and that isn’t good for business! On the other hand, satin ribbons will maintain their form until you enjoy the value of your money.
Conclusion
Tying your ballet shoes should be easy now that you have gone through this article. You can switch through different ballet shoes at any time without fearing being unable to tie your shoe’s ribbon by yourself.
For more ideas on how to tie your ballet shoes, watch this video on YouTube:

